
Perfect Pan fried scallops

I got a simple but awesome tip from my mom about pan frying defrosted frozen scallops. I thought I will blog about it and share it with all of you out there who are looking for the perfect way to prepare yummy scallops :D Photos kindly taken by my husband.
I tried cooking the scallops before the results were not very pretty — water kept coming out from the huge scallops as I fry it, and it resulted in small (half or smaller of the original size!) and over cooked scallops. I was a bit wary about trying to cook it again to be honest, but I was glad I decided to try again.
Ingredients:
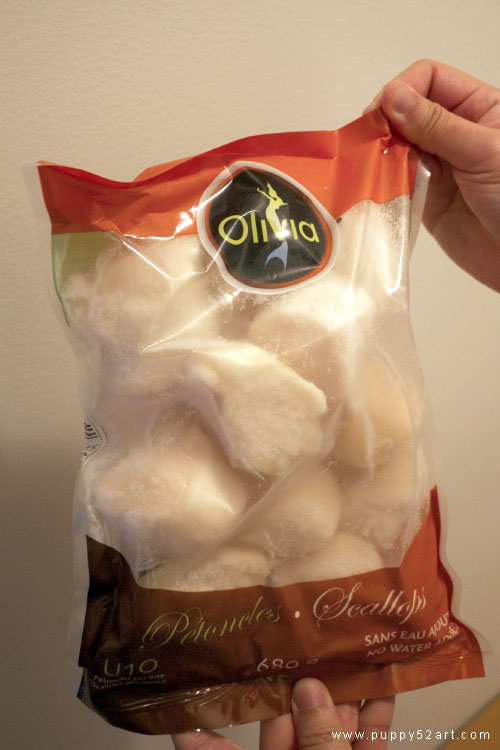
1) Frozen scallops, defrosted the day before in your fridge section. (we bought the above from Costco, making sure it’s the “no water added” type, it has 12-14 pieces)
2) butter (to fry the scallops)
3) garlic slices or shallots
4) oyster sauce (or teriyaki sauce whichever you prefer)
5) Mirin (Japanese rice wine for cooking)
6) salt
Instructions:
1) Open the bag of defrosted scallops and put it in a clean bowl– preferably glass or metal — Plastic container may have small traces of oil which will apparently affect the results of the pre work.
2) With cold running water rinse off any frozen ice from the scallops and put enough water to just cover the scallops, add a table spoon of salt and gently mix until salt dissolve and set aside, go prepare other stuff– maybe pasta or other dishes/vegetables which you want to accompany this dish.
3) About 30-45 minutes later (if any longer, maybe put the scallops in the salt water solution in the fridge — but this may affect cooking time) scallops + salt water solution will probably be almost room temperature or just slightly cooler, put a couple paper towel on a clean plate, scoop the scallops out and using more paper towel, dry the scallops as much as possible – moisture will make oil spatter.
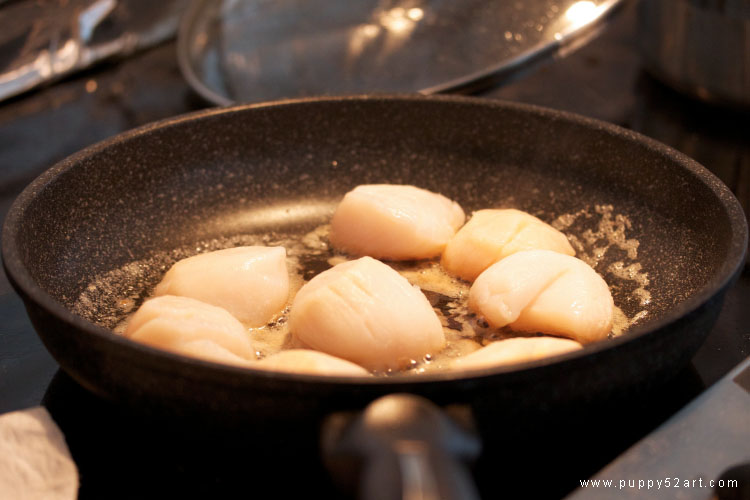
4) When the scallops are pat dry, you’re ready to fry them. Heat up a non stick frying pan to high heat, add some butter, when the butter starts to bubble and turn slightly brown, put some garlic slices in (take them out with chopsticks if they start to brown too much later) the main thing with garlic is to give it some fragrance.
5) Start placing the pat dry scallops into the pan, from the largest pieces first — they will take a bit longer to fry than the smaller pieces, depending on how big the scallops are, fry until the top/bottom sides are caramelised, may take 2-3 minutes each side, smaller the scallops less time needed. Main thing is do not over cook! Watch it, if a piece looks like both sides are done/caramelized, take it out quickly with a spatula or chopsticks onto a plate.
6) Sometimes you need to cook the scallops in 2 batches, when the 2nd batch looks done, quickly slide the first batch of cooked scallops onto the plate into the pan again, add a dizzle of oyster sauce(or Teriyaki sauce), a splash of mirin quickly stir it once or twice don’t over cook it! I notice sometimes there may still be some moisture coming out from the scallops after serving but usually it is not excessive. Serve hot/warm on a plate. :)
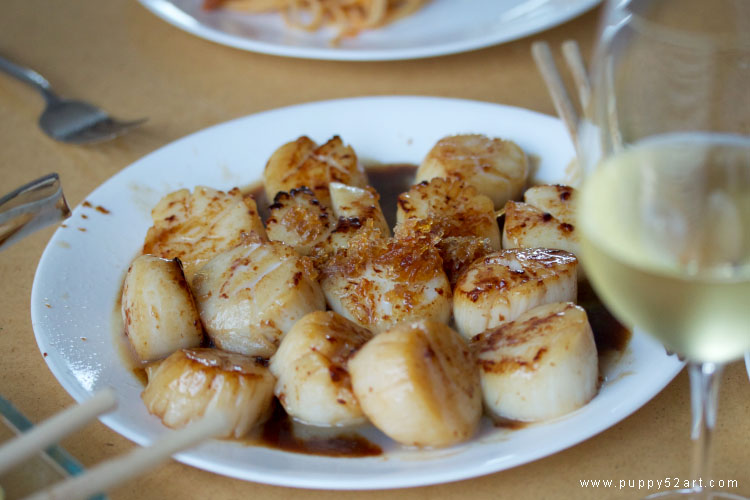
On this plate of scallops, I also prepared some caramelized shallots ahead of time using microwave. (Photo below was taken with my iphone)

Ingredients:
1) Shallots, thinly sliced (2-3 bulbs)
2) cooking oil
3) microwave safe bowl
Instructions:
1) The thinly sliced shallots must be dry, as moisture cause hot oil to splatter. If you wash shallots after peeling, pat dry with paper towel before slicing. Be warned slicing dry shallots may make you cry :P After slicing shallots put in a microwave safe bowl, drizzle with oil enough to almost cover the shallots, mix shallots and oil together a bit with a pair of chopsticks (dry) to make sure the shallots are evenly coated with oil – take note any excess oil can be kept to be used for cooking later.
2) Microwave on high for 2 minutes, check and gently stir with chopsticks, after that, microwave another minute (or less if you are using less shallots!), gently stir with chopsticks again, the oil will be bubbling and the container will be very hot, so be careful! When the oil is bubbling and shallots slightly changed colour, any further microwaving has to be minimum (by seconds rather than minutes). I burnt some shallots accidently before and they are not edible — super bitter!
3) Stirring/mixing the shallot in between the microwaving will ensure a more even cooking. When the shallot starts to turn light golden brown it should be almost ready, the hot oil will continue to cook shallot a bit more when you take it out from the microwave oven. Make sure to handle the container with mittens or pot holder! Good luck :D
Hope you enjoy this little random food segment :P


It’s tempting :D~~
^o^! I am happy with people enjoy my cooking or something I cook = success XD
Yum!
That sounds delicious!! I love scallops and I love shallots, so I will have to try this out! :D
Thanks for sharing! <3
yes XD
Good luck!!!