
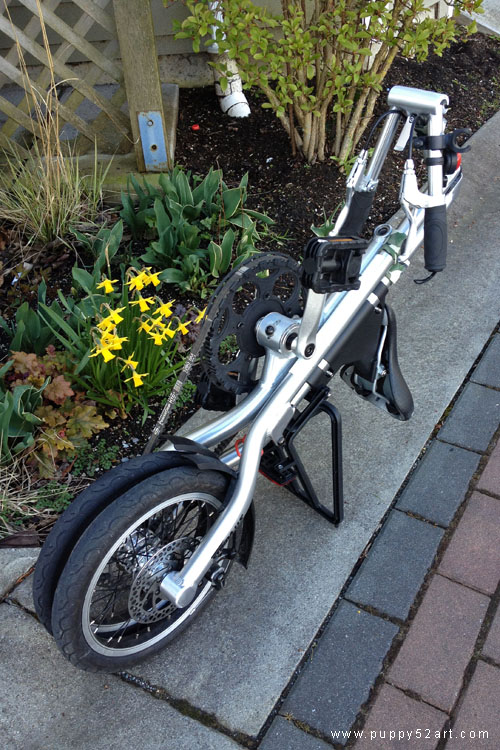
Strida Mini tire puncture fixed!
The weather forecast decided to play an April fool’s prank on us by telling us it’s going to rain today and giving us a beautiful sunny afternoon instead! Awesome! ;)

This is the first time I ever have to fix a bicycle tire puncture and I am happy to say that I was able to do it! :)

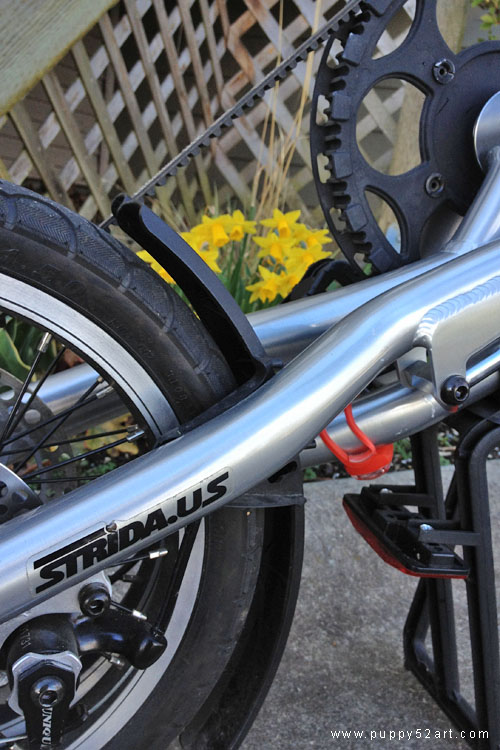
I couldn’t find any tutorial on specifically how to install the Strida Mini tires, but luckily I managed to figure it out with some advice from my husband ^^;
I’m glad that locating the puncture was quite straight forward as well.
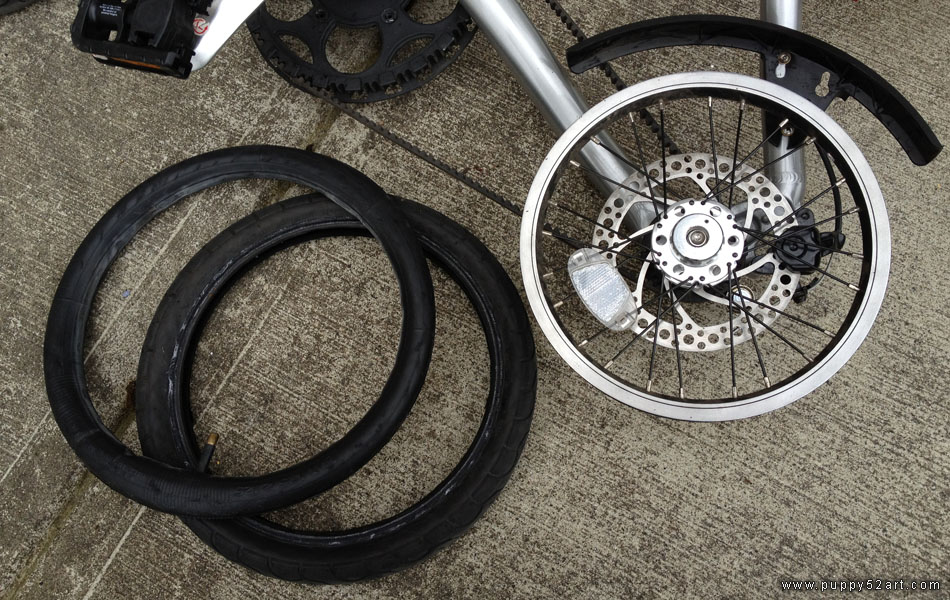
I had to deflate the tire, remove the tire and tube with a kit we bought along with Strida mini last year, and immerse just the tube slightly pumped up into a basin of water to find the leak.
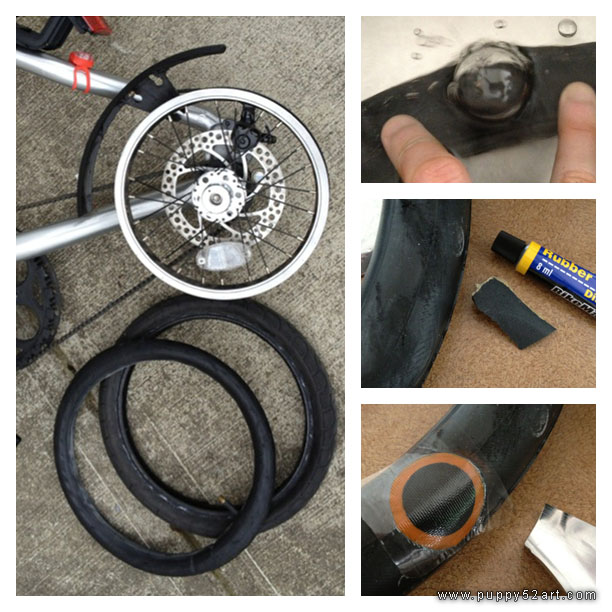
Luckily there was only one tiny puncture, not more than that — which I needed to fix. It was just not visible to the naked eye. ^^;
I hope whatever which caused the puncture is not still hiding in the tire — husband did not find anything while feeling around the tire ^^; Apparently a dangerous thing to do with bare hands since the culprit could poke at and injure the fingers. ^^;
After fixing the puncture in the inner tube of the tire, installing the tire back on the bike and then pumping the tire back up, I had to make a short ride around my complex to test it out, it feels great riding a bike with the tires with the correct PSI XD
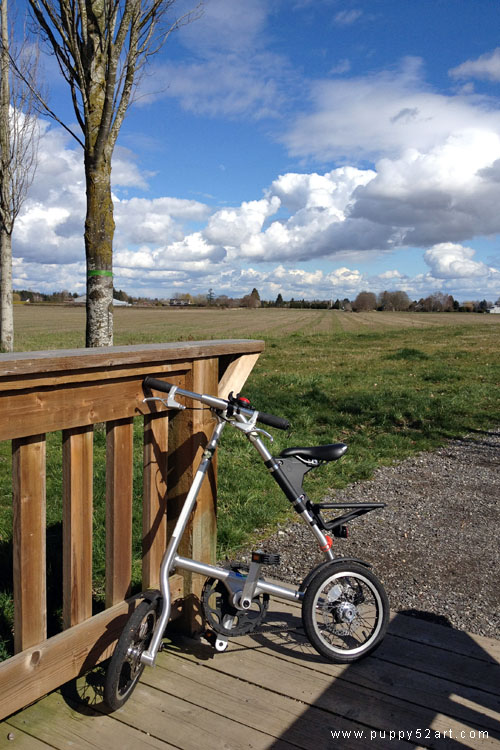
Looking forward to ride out to take some photos if the weather the coming week cooperates ^^;
This little episode made me realise I really missed my little Strida Mini!
I slowly figure out how to ride it a little better over time, and like how it can get me further and faster than just walking ^^;

I must remember to check it every week to make sure the pressure on the tire is correct :P And also many thanks to my friend Ruthie who advised me that usually after winter storage, the tire may have leaked air XD


I’m glad to see Mini Strida is feeling so much better, and that your first operation was a success!! XD
hehehe Yah I missed riding Strida Mini XD