Continuation from the previous entry, the Danny choo and his sweet mascots (Haruka and Mirai) in Nendoroid style artwork is now completed ^^/ Please click on image below to get a bigger version :3
Okie gotta make some lunch :P laters everyone ^^/
a cheeky Doodle from today :3 I suspect my mom will have a lot to say to me if she ever chance upon this sketch ^^; Despite me being already married for a few years and all… (LOL)
And one from earlier this month (3 guys, 2 SD girls) I rarely draw guys, lol!
As some (if not all) of you had seen, I doodled Danny choo and his 2 adorable mascots nendoroid style ^^/! Danny doodle was drawn straight with Sai, and Haruka and Mirai were sketched on paper first before “inking” in Sai ^^/ (What is Sai?)
I hope to find time to colour ^^; Danny doodle will probably be completed the quickest since he’s mostly in black :3
Thank you those who keep coming back to check on progresses, I decided to make wallpaper versions of this particular image ;)

1024 x 768
1600 x 1200
1680 x 1050 (16:10)
1920 x 1200 (16:10)
But of course, the final image is available on the Gallery page as well :3 and also by clicking on the image up there you get to see the actual higher resolution for your personal collection.
To see the previous work in progress for this particular image, you can check out the URLs below:
Inspiration and sketch
“Inking” in Sai (What is Sai?)
Colour progress teaser
Saw a news item on dannychoo.com yesterday, was very amused that that imagery has a term! :P
yes a sketchu preview in progress :P Gotta love a lazy(-ish) Sunday!

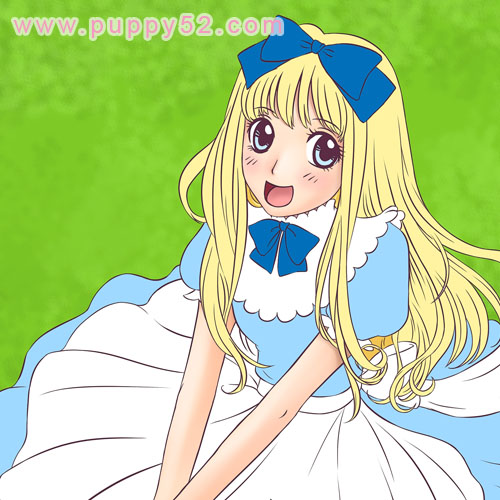
Tried some other tools in Sai, very quick fills done, haven’t really figured out the program fully just yet, so background was quickly done in photoshop, may redo it later in Sai of course.

There are different ways and methods I use when I colour my artwork.
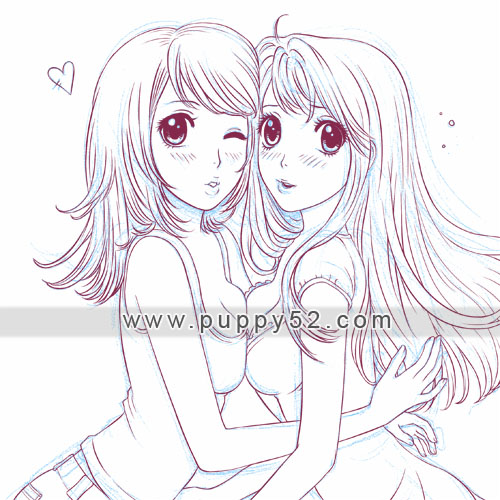
Usually the line art — either scanned image, or inked in the computer — is in a separate layer, and similar or same colours or items (example, hair, clothing, skintone etc) in different layers. I noticed that in photoshop the file will become huge as more layers, shading and effects are added.
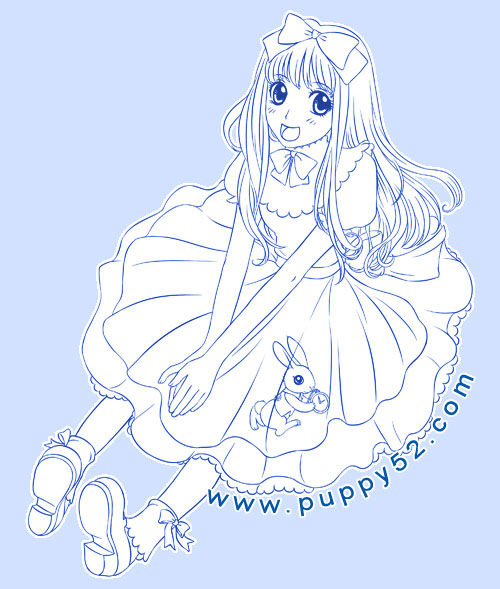
In Sai, the image refreshes and saves quickly, something I really like since it definitely saves some time. Also multi control-Z is definitely a plus ^^. In this current work in progress, I fill some base colours (in separate layers) first, this method allows me a quick over view of the overall colour schemes and when I finalise colours I will do shading later. This method is neater in a way that we can re-select the filled in parts, keeping most shading within the base colours.
In the previous “That cat girl” I used a slightly more time consuming and messier method, where I shade roughly around and then erase the strokes which bleeded outside of the line art.
Okie quick colouring of cat girl completed ^^/ Was gonna give her a more fantasy colour hair style but end up using brown ^^; This piece of work is mostly coloured in Sai, quick background and text done in photoshop ^^ As usual, clicking on image below brings you to full view, or you can find it in Gallery page.
okay back to Work work ^^;;;;
Recent Comments
- Busy busy! | Puppy52 Art on Steveston adventure with visitor
- Mirai Curry version 2 | Puppy52 Art on Mirai curry
- chun on Strida Mini grocery run
- Ducky Momo on Strida Mini grocery run
- Heather on Strida Mini grocery run
- chun on Strida Mini grocery run
- animagic4u on Strida Mini grocery run
- chun on Waffles the Cat
- Ducky Momo on Waffles the Cat
- chun on Waffles the Cat
- lightningsabre on Waffles the Cat
- chun on Hanami 2012
- mezzo forte on Hanami 2012
- chun on Strida Mini tire puncture fixed!


